
Ceramic Coating 101: Decontamination
Part 2 of Our DIY Ceramic Coating Series
There’s clean, and then there’s clean. If you’ve followed the first instalment of our DIY ceramic coating series, your car should now be freshly washed, dried and looking considerably better than it did when you started. But appearances, as the saying goes, can be deceiving.
Run your fingertips gently across a clean section of your car’s paintwork. Does it feel perfectly smooth, or can you detect a slightly rough, almost gritty texture? If it’s the latter, you’re not alone. Even a thoroughly washed car can harbour contaminants that ordinary shampoo and water simply cannot remove.
And that’s where the second stage of our ceramic coating journey begins: decontamination.
Before we can even think about applying a ceramic coating, we need to make sure the surface beneath it is as clean and free from embedded contamination as possible. After all, a ceramic coating is designed to bond with your vehicle’s clear coat, not with the collection of industrial fallout, road tar and other unwanted passengers that have accumulated on top of it.
The Uninvited Guests
To understand why decontamination matters, it’s worth considering what your car encounters during an ordinary week on the road.
Brake dust, airborne iron particles, road tar, tree sap, industrial fallout and mineral deposits are just some of the contaminants that can find their way onto your paintwork. Some sit on the surface, while others become firmly attached to it. Over time, certain contaminants can even contribute to staining or deterioration of the finish.
And here’s the important distinction: although safe-washing removes loose dirt and much of the surface grime, it isn’t necessarily capable of removing everything that’s bonded to your paintwork.
Think of it this way: washing removes the dirt that’s willing to leave. Decontamination deals with the dirt that’s decided to stay.
For our purposes, we’re going to divide decontamination into two stages: chemical and mechanical. Both have their place, but the order in which we approach them is important.
A Little Chemistry Goes a Long Way
Our first port of call is chemical decontamination. The principle here is relatively straightforward: rather than physically scrubbing stubborn contamination away, we use dedicated chemicals to dissolve or loosen it.
Let’s start with iron fallout.
These tiny metallic particles often originate from brake wear, although industrial activity and other environmental sources can also contribute. They can settle on your paintwork and wheels, where they may become firmly embedded in the surface.
A dedicated iron remover is designed to react with and help dissolve this contamination, making it easier to rinse away without aggressive mechanical intervention.
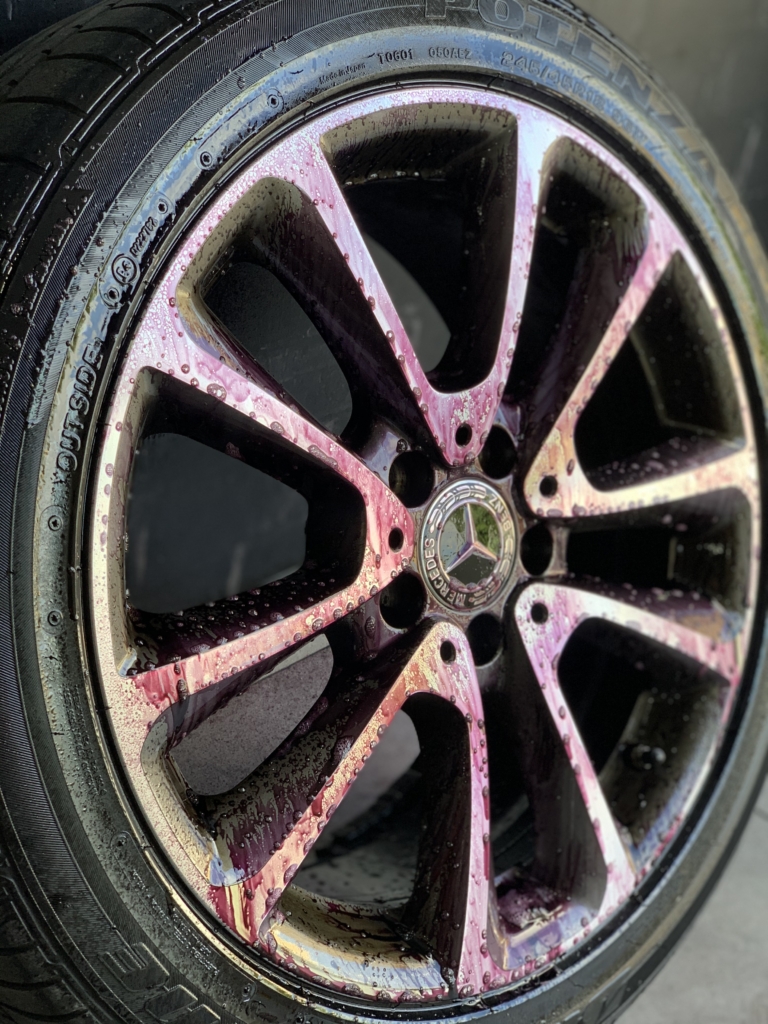
Many iron removers produce a distinctive purple or reddish colour as they react with iron particles. It’s a rather dramatic sight, particularly on lighter-coloured vehicles, but don’t mistake the spectacle for the objective. What we’re interested in is removing the contamination, not producing the most colourful driveway.
Apply your chosen iron remover according to the manufacturer’s instructions, taking care to observe the recommended dwell time and surface requirements. Some products are suitable for use on paintwork, while others are formulated specifically for wheels.
Most importantly, never allow the chemical to dry on the surface.
Once the product has had sufficient time to work, rinse the vehicle thoroughly. Depending on the level of contamination, a second application may be necessary.
A Sticky Situation
Iron particles aren’t the only unwelcome visitors we’re dealing with.
Road tar, adhesive residue and certain oily deposits present a different challenge altogether. Unlike metallic fallout, these contaminants require a product specifically formulated to soften or dissolve their composition.
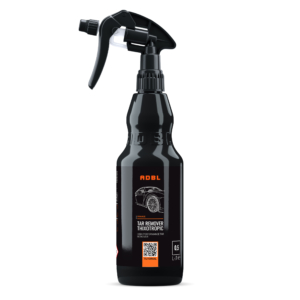
This is where a dedicated tar remover comes into play.
You’ll typically find tar deposits concentrated around the lower doors, sills, wheel arches and rear sections of your vehicle. They often appear as small black or brown spots that stubbornly resist ordinary washing.
Resist the temptation to scrape them away with your fingernail or attack them with a wash mitt. Doing so risks dragging abrasive material across the clear coat.
Instead, apply a suitable tar remover to the affected areas, following the manufacturer’s instructions regarding application, dwell time and compatible surfaces. Allow the chemical to do its work before gently removing loosened residue where necessary and rinsing thoroughly.
A word of caution: not every chemical is compatible with every surface. Certain plastics, freshly painted panels and aftermarket finishes may require special consideration. Always check the manufacturer’s guidance and test an inconspicuous area when appropriate.
Once you’ve dealt with both iron fallout and tar deposits, give the car another thorough rinse and, if necessary, a gentle wash to remove any remaining chemical residue.
Now we’re ready to move on to the next stage.
Getting Hands-On
Chemical decontamination can accomplish a great deal, but there may still be bonded contaminants that refuse to budge.
Enter the clay bar.
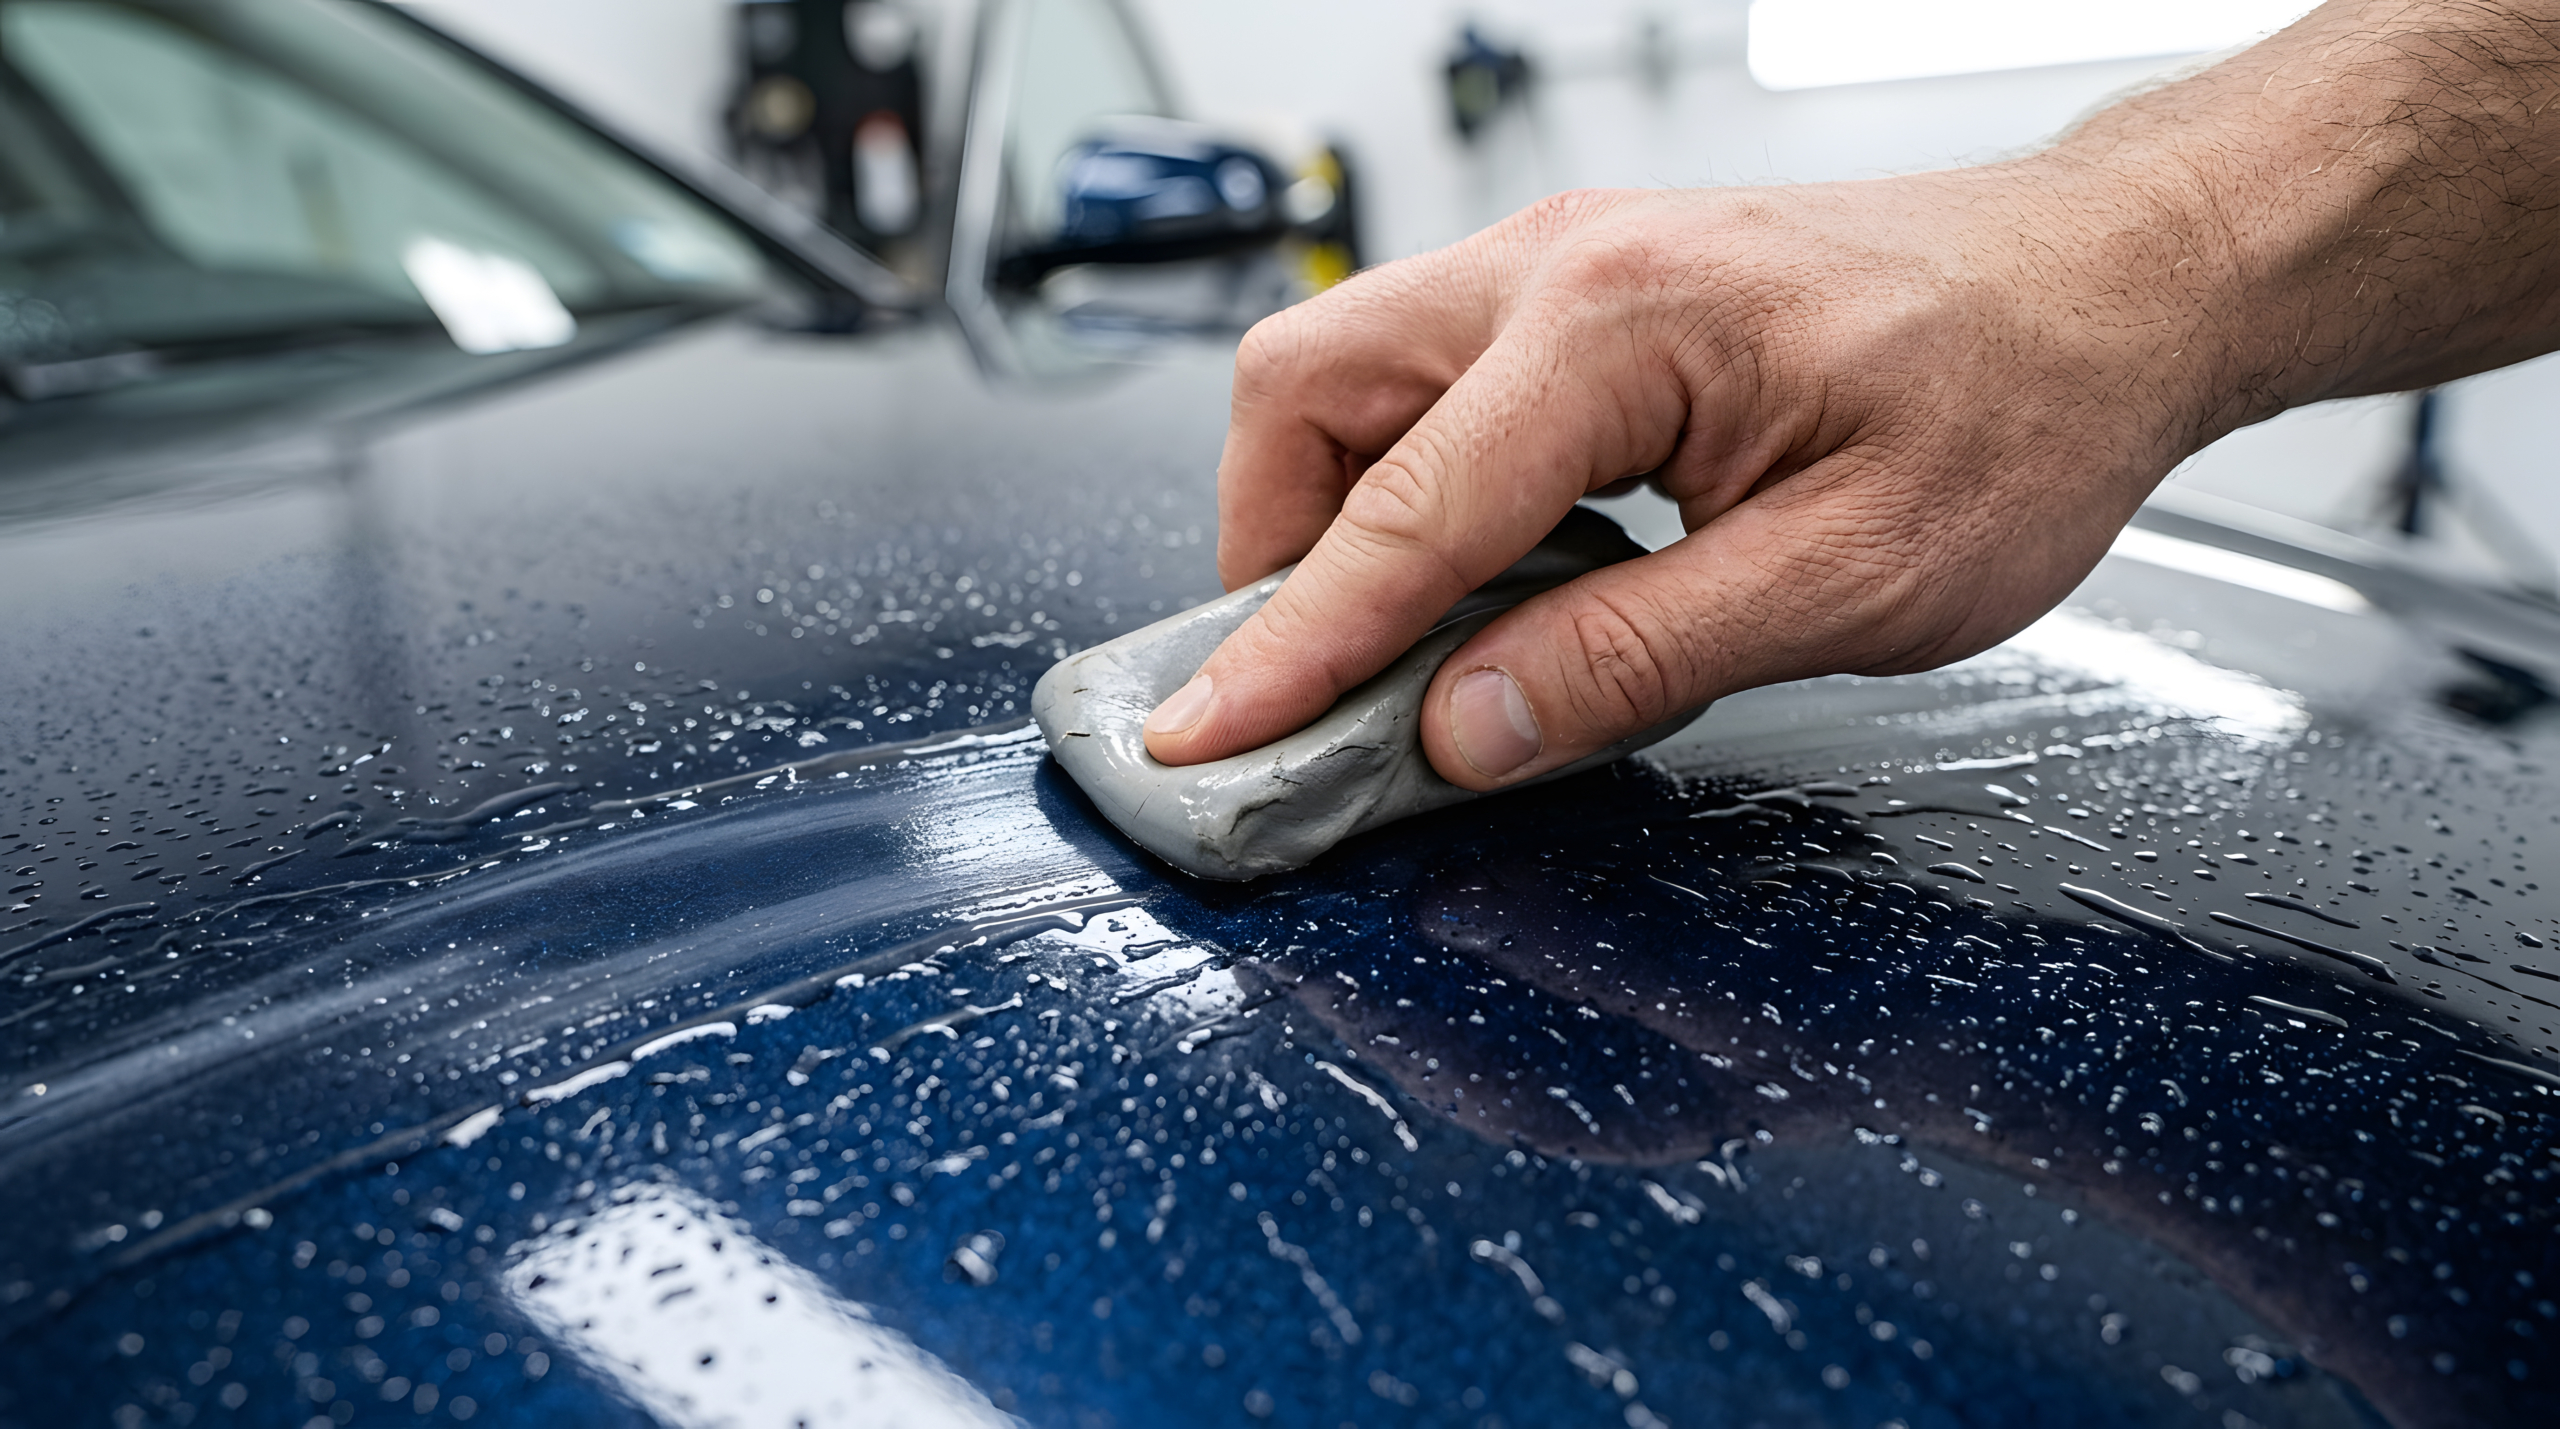
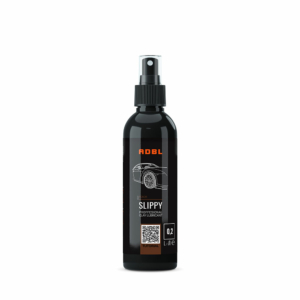
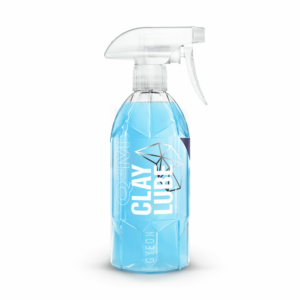
For the uninitiated, detailing clay is a specially formulated material that, when used with an appropriate lubricant, can remove bonded surface contamination that remains after washing and chemical treatment.
There are also modern alternatives, including clay mitts and clay towels, which work on a similar principle and can be particularly convenient when dealing with larger areas.
But before you reach for one, there’s something worth understanding.
Mechanical decontamination involves physical contact with your paintwork. And whenever you introduce friction, you introduce the possibility of marring or fine scratches.
This is precisely why we recommend chemical decontamination first: the fewer contaminants left behind, the less work your clay needs to do.
Start by ensuring the surface is clean and cool. Apply a generous amount of suitable clay lubricant to a small section of paintwork, then move the clay gently across the surface using straight, overlapping passes.
There’s no need to apply significant pressure. In fact, doing so is counterproductive.
As the clay removes bonded contamination, you may notice that the initial resistance gives way to a smoother, more effortless movement. That’s generally a good indication that the surface is becoming cleaner.
Inspect and fold a traditional clay bar regularly to expose a clean working surface. If you drop it on the ground, discard it. A clay bar that has picked up grit from the floor is no longer something you want anywhere near your paintwork.
With clay mitts and towels, follow the manufacturer’s cleaning and inspection instructions, particularly if the tool comes into contact with the ground.
And remember, mechanical decontamination isn’t a competition. If a panel is already free from bonded contaminants, there’s little to be gained by repeatedly claying it.
Smooth Operator
So how do you know when you’ve done enough?
One useful method is to assess the paintwork by touch, once the surface is clean and free from loose dirt. A clean, thin plastic bag placed over your fingertips can help amplify the sensation of remaining bonded particles as you move your hand very gently across the paintwork.
If the surface feels noticeably rough, further decontamination may be necessary. If it feels consistently smooth, you’re probably heading in the right direction.
Of course, smoothness alone doesn’t tell us everything about the condition of the paint.
A surface can be perfectly smooth and still suffer from swirl marks, scratches, oxidation or other imperfections. Decontamination removes unwanted material from the surface; it doesn’t necessarily correct defects in the clear coat itself.
And that brings us to an important point about what we’re trying to achieve.
Decontamination and paint correction are two different processes. The former removes bonded contaminants; the latter addresses imperfections in the paint finish. Confusing the two can lead to disappointing results when the ceramic coating is finally applied.
Indeed, because ceramic coatings are typically transparent, they won’t magically conceal defects already present in the paintwork. In certain lighting conditions, those imperfections may remain just as noticeable after coating.
The Final Rinse
Once you’ve completed the necessary chemical and mechanical decontamination, it’s time to wash the vehicle again.
This final wash helps remove remaining lubricant, loosened contamination and chemical residues that may still be present on the surface.
Use a suitable automotive shampoo, clean wash mitt and the safe-washing techniques we covered in Part 1. Rinse thoroughly and dry the vehicle using a clean, quality drying towel, taking care to remove trapped water from mirrors, trim and panel gaps.
At this point, your vehicle should be free from the majority of the bonded contaminants that stood between you and a properly prepared surface.
But don’t reach for that ceramic coating bottle just yet.
There is still the question of paint correction to consider, along with the final surface preparation required before applying the coating. A perfectly decontaminated car isn’t automatically a coating-ready car.
One Step Closer
If you’ve made it this far, congratulations. You’ve completed one of the less glamorous, but arguably most important, stages of preparing your vehicle for ceramic coating.
Your car may not look dramatically different from when you finished washing it, but the condition of its surface should have improved considerably.
And therein lies one of the most important lessons in detailing: not every worthwhile improvement is immediately visible.
In the next instalment of our four-part DIY ceramic coating series, we’ll turn our attention to paint correction, exploring how to identify imperfections, when polishing is necessary and why preparing the finish properly can make all the difference to the final result.
Related Products
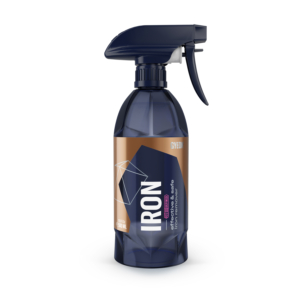 Q²M Iron - REDEFINED Price range: €17.90 through €31.90
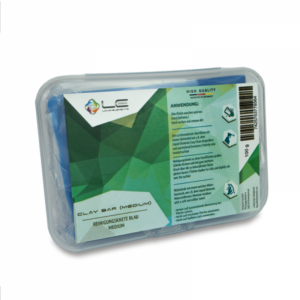 Liquid Elements Clay Bar€9.99
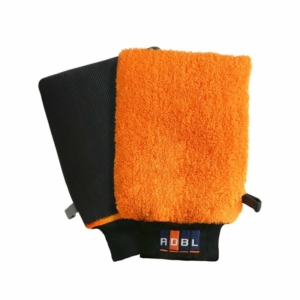 ADBL ClayMitt€29.99
 ADBL SLIPPY (Car Clay Lubricant)
 Gyeon Q²M ClayLube€12.90
 Adbl Tar Remover Thixotropic Price range: €12.99 through €16.99
 ADBL Vampire Liquid (Anti-Brake Dust & Anti-Rust)
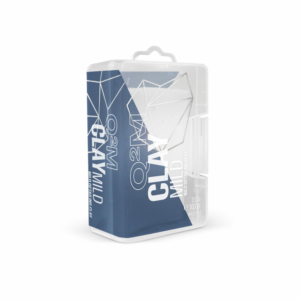 Q²M Clay Mild€19.90
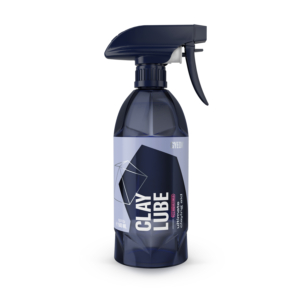 Q²M ClayLube REDEFINED€14.90
More relatedBlogs
 Car Care
Ceramic Coating 101: How to Safely Wash Your Car
Part 1 of Our DIY Ceramic Coating Series “How you do anything is how you do everything”, the saying
 News
Prestige Detailing Goes to Automechanika in
The Rub: When you attend a marquee automotive event like Automechanika, the first thing that strikes
 Insights
Why Your Car Still Isn’t Clean After Washing It
The Rub: Looks Can Be Deceiving There’s something undeniably satisfying about washing your own car
 Insights
Ceramic Coating: DIY vs Getting it Done
The Rub: Pro or DIY? Ceramic coating doesn’t begin with the coating itself. Safe washing
